 English
 русский

The CNC Pipe Cutting Machine is designed for high-precision cutting of stainless steel pipes, especially suited for cup ...
See Details
A part comes out of the machine looking fine, but the thickness check says otherwise. Or maybe the tube has developed a few ugly folds around an expanded section, and now the whole batch needs another look. Anyone who's dealt with forming defects on a production line knows how quickly a small problem can turn into wasted time and material.
Wrinkling and wall thinning are common headaches in water bulging operations. They're also easy to misdiagnose. You might lower the pressure to deal with a thin spot, only to find that the part no longer reaches the required shape. Add more material feeding to fix the thinning, and wrinkles may start showing up instead. That's why changing settings at random usually gets you nowhere.
A Water Bulging Machine uses pressurized water or another suitable forming fluid to expand a metal workpiece into a required shape. It's used for hollow components and parts that need curved, enlarged, or irregular sections. The process can reduce the need for several forming steps or extra joints, but the metal still has to go somewhere as the shape changes.
And that's really what this comes down to: controlling how the material moves. Pressure matters, but so do the starting dimensions, feeding conditions, clamping, and die design. When a defect shows up, looking at these factors together is far more useful than blaming the machine straight away.
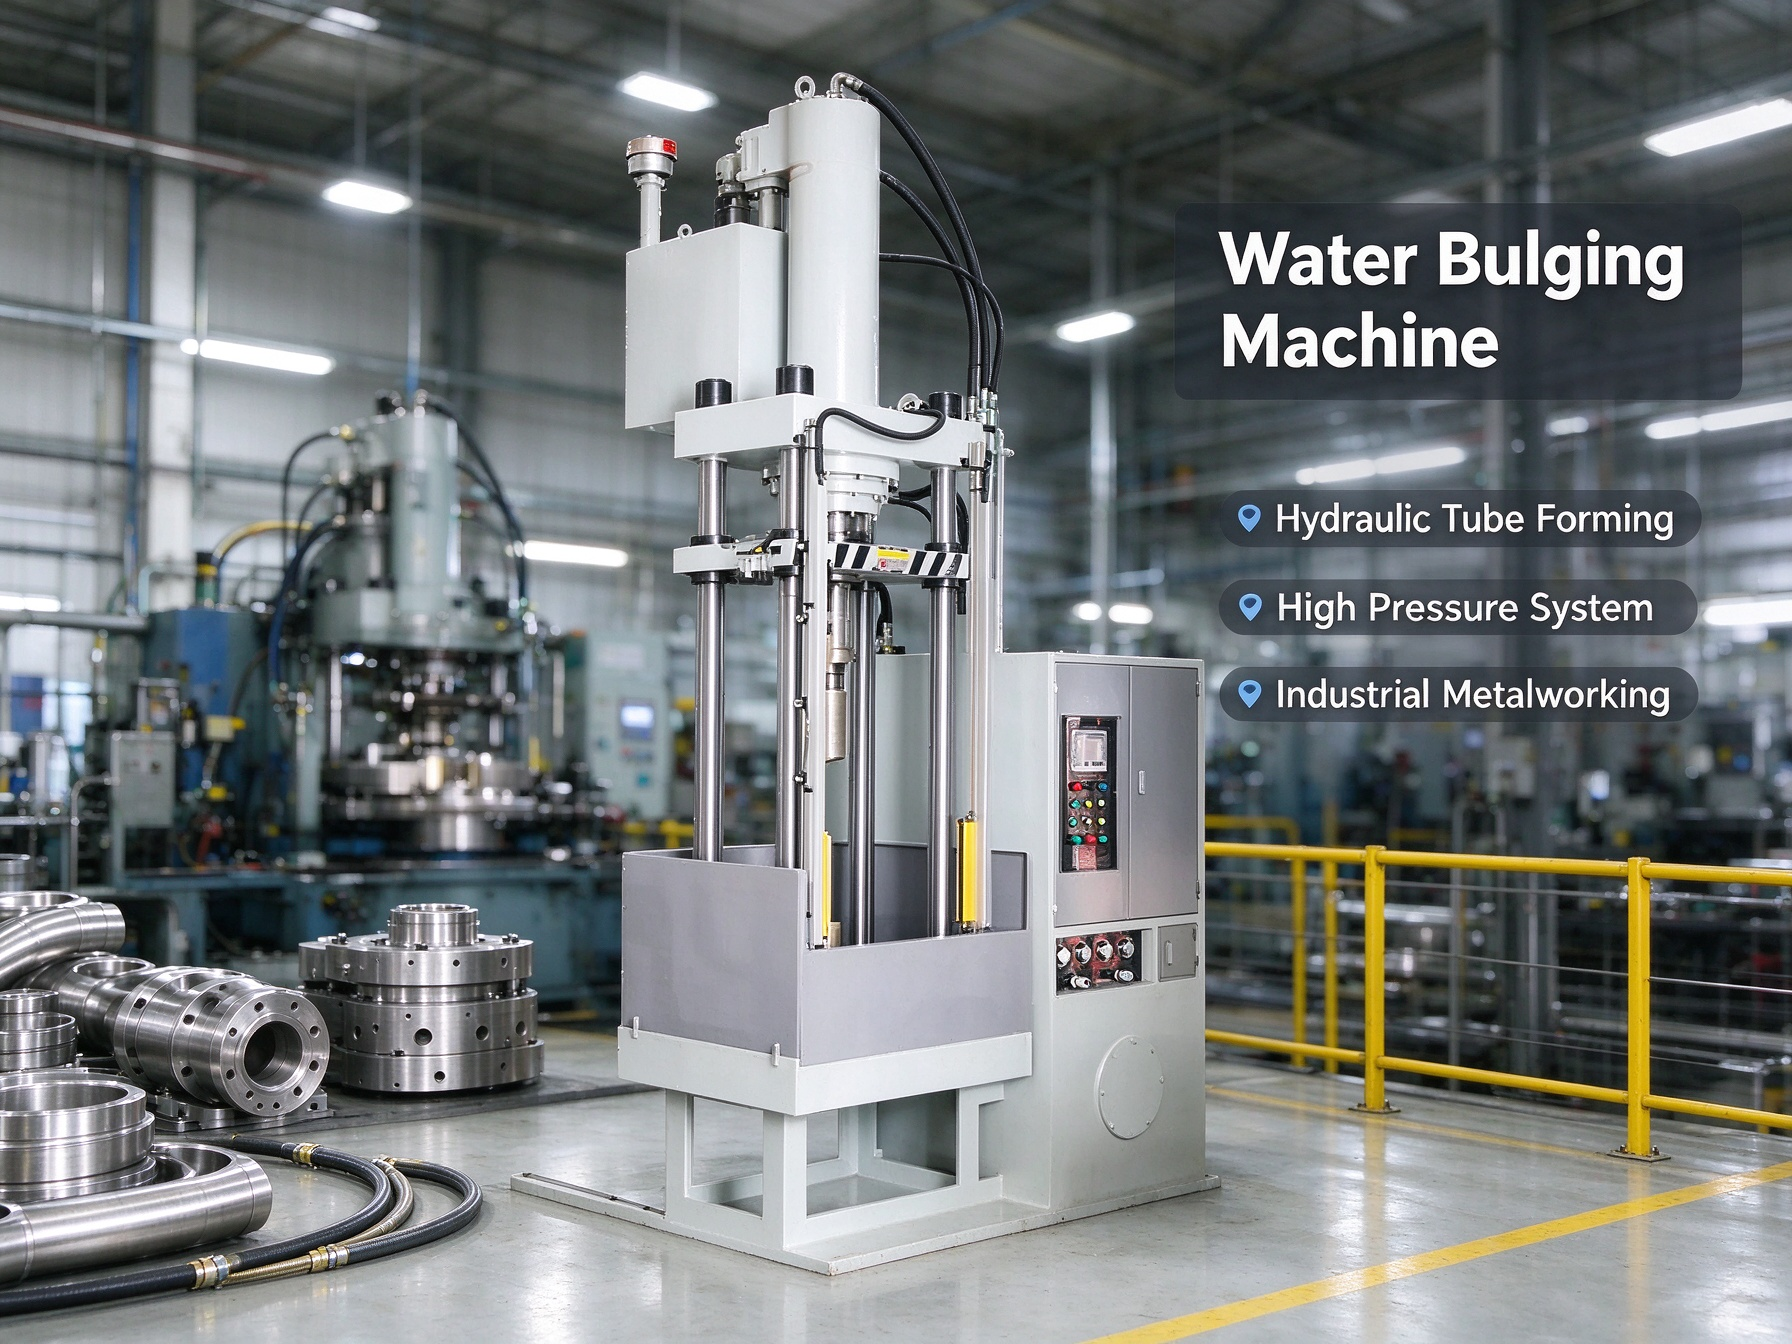
Although they may appear on the same part, wrinkles and thinning happen for different reasons.
Wrinkles usually mean that too much material is gathering in one area. The metal comes under compression, loses stability, and folds instead of following the intended shape. This can happen when the workpiece isn't supported properly or when too much material is pushed into the forming zone.
Thinning happens when the metal stretches too far. As a tube or blank expands, its surface area increases. If material from surrounding sections can't move into the expanding area as needed, the wall has to stretch more. Keep pushing the material beyond its limits, and cracks or ruptures can follow.
A few things are worth checking when either problem appears:
Material properties: Different alloys and material batches can respond differently, even when their nominal thickness is the same.
Pressure settings: The pressure level matters, but so does how quickly it rises.
Starting dimensions: An incorrect tube diameter or blank size can change the way material flows.
Clamping and feeding: Too much restriction or too much feeding can both cause trouble.
Tooling: Sharp transitions, poor alignment, and worn die surfaces may affect the finished shape.
Here's a useful clue: if every part develops a thin spot in exactly the same place, start by looking at the forming conditions and die geometry. If the defect appears on some parts but not others, check for changes in the material, setup, or machine performance.
The pattern often tells you more than the defect alone.
Pressure is an obvious suspect when a part isn't forming properly. Still, turning it up isn't always the answer.
If the pressure increases too quickly, the metal may stretch heavily in one area before enough material moves into the forming zone. That can leave a thin section around a corner or expanded area. If the pressure is too low, the workpiece may never fully follow the die, leaving an incomplete shape.
There's no single pressure setting that works for every job. The right range depends on the material, wall thickness, part geometry, and machine configuration.
A staged pressure profile gives the material time to deform as the part expands. Rather than applying high pressure immediately, the machine begins at a suitable level and increases pressure as forming progresses.
The actual pressure ramp needs to be worked out through trials or an approved process specification. During setup, pay attention to when the workpiece starts expanding and where the thinning begins.
Say a component keeps developing a thin spot near a corner. Lowering the final pressure might help, but it could also leave the corner underformed. Before making that adjustment, check whether the die shape or material feeding is contributing to the problem.
Keep a record of the settings used during successful trials. It doesn't need to be complicated. The pressure profile, material batch, inspection results, and any changes made are often enough to give the team a useful reference for the next run.
Sometimes nobody has changed the settings, yet the parts start coming out differently. That's a good reason to check the machine instead of repeatedly adjusting the process.
Pressure fluctuations may come from leakage, worn seals, faulty sensors, or problems with the fluid supply or control system. Compare the current readings with records from a batch that passed inspection. If the pressure isn't following the expected pattern, have the relevant components checked according to the manufacturer's instructions.
This matters on lines where different operators run the same job. Without pressure records, one shift may keep adjusting the settings to compensate for a problem that the next shift never sees.
When wrinkles keep appearing, take a look at the material before changing the machine settings again. The workpiece may already have a dimensional problem, or it may not be feeding into the forming area as expected.
An oversized blank can leave excess material around the forming zone. As the part expands, that material may bunch up and form folds. An undersized blank causes a different problem: the metal has to stretch further to reach the target shape, which can increase thinning.
For tube-based forming, check the tube diameter, wall thickness, straightness, and end preparation. Other workpieces should be checked against their specified blank dimensions and tolerances.
Material batches deserve attention, too. Two batches with the same nominal thickness may have different strength or ductility. If the defects started shortly after a material change, compare the incoming inspection results and material certificates before touching the machine settings.
It's an easy detail to overlook. Yet a material change can explain why yesterday's settings no longer produce the same result.
Some water bulging operations use axial feeding to push material toward the expanding section. When feeding and internal pressure work together, more material can move into the area that needs to stretch. This may help reduce thinning.
But more feeding doesn't automatically mean fewer defects. Push too much material into the forming zone, and the metal may buckle under compression. Feed too little, and the expanding section has to stretch further than intended.
Clamping can cause similar trouble. If the workpiece slips, the finished dimensions may vary. If it's held too tightly, the metal may not move as freely as the process requires.
The right balance depends on the part and machine design. During trials, make small changes to feeding or clamping, then check the finished part. Changing several settings together might save a few minutes, but it leaves you guessing about which adjustment actually helped.
When the same wrinkle or thin spot keeps showing up in exactly the same place, take a good look at the die. The problem may have less to do with pressure and more to do with how the metal is being supported as it expands.
You can keep tweaking the machine settings, but if the die is forcing the material into an awkward shape, you're only working around the problem.
Metal has a harder time forming around a tight corner. The strain gets concentrated in a small area, and that section can end up much thinner than the rest of the part. Push it too far, and cracks may appear.
One possible fix is to use a larger corner radius or a smoother transition. That gives the metal a little more room to stretch instead of forcing all the deformation into one spot. Of course, you can't just change the die shape on the fly. Check the part drawing and make sure the change won't affect the dimensions or how the component is supposed to work.
Wrinkles are a different story. If the metal keeps folding in the same area, look at how the die holds the workpiece and where the extra material is going. Turning up the pressure might push the metal harder against the die, but it won't necessarily stop those folds from forming.
Dirt, scratches, worn surfaces, and poor alignment can all mess with the way the workpiece contacts the die. Sometimes the result is an obvious surface mark. Other times, the part just comes out uneven, and the reason isn't immediately clear.
Start by checking the areas where the metal touches the die, especially around corners and sections that expand a lot. If a problem has appeared out of nowhere and neither the material nor the machine settings have changed, tooling wear is worth checking before you start adjusting everything else.
And don't skip the basic setup checks. Is the right die installed? Are the fixtures sitting properly? A small alignment mistake can affect every part in the batch. Nobody wants to find that out after hundreds of pieces have already been formed.
|
What might be going wrong |
What you'll probably notice |
Where to start checking |
|---|---|---|
|
Pressure rises too quickly |
Thin areas around expanded sections |
Pressure ramp and forming sequence |
|
Pressure is too low |
The part doesn't fully take the die shape |
Required pressure range and machine settings |
|
Too much material is fed in |
Folds or wrinkles develop |
Feed amount and timing |
|
Not enough material is fed in |
The expanding section stretches too far |
End movement and feed settings |
|
Starting dimensions are off |
Material doesn't flow evenly |
Incoming material measurements |
|
Die corners are too sharp |
Local thinning or cracks |
Corner radius and part geometry |
|
Clamping isn't consistent |
The workpiece slips or can't move as needed |
Clamping force and alignment |
|
Tooling is dirty or worn |
Surface marks or inconsistent results |
Die condition and contact surfaces |
|
Material batches behave differently |
One run forms well, the next doesn't |
Material certificates and inspection records |
Keep in mind that one problem can set off another. Adding more material feed might help a thin section on one part but cause wrinkles on a different design. Don't assume a setting that works for one component will work for every job. Run a check against the actual part drawing before making the change part of your normal process.
A quick look at the finished part will catch obvious folds, cracks, and areas that haven't formed properly. But a smooth surface doesn't guarantee that the wall underneath is thick enough.
Pay extra attention to expanded sections, corners, and transitions. These are the places where the metal may have stretched the hardest. Depending on the component, you might use a calibrated thickness gauge, ultrasonic measurement, or section a sample part to check the wall directly. The method needs to suit the material and the shape you're measuring.
There's another small detail worth getting right: write down where each measurement was taken. A thickness reading without a clear location doesn't tell you much when you're trying to track down a recurring defect.
For example, if the same corner keeps coming out too thin, start by looking at the pressure settings, material feed, and die shape around that area. If thickness readings jump around from one part to the next, check whether the material or machine setup has changed.
It's also worth sorting out acceptance limits before production gets going. Everyone involved should know the minimum wall thickness, the dimensional tolerances, and what counts as an unacceptable surface defect.
A small wrinkle may not matter on one part, but on another it could interfere with assembly or create a weak point. And if the component needs to handle pressure or repeated loading, don't rely on a visual check to decide whether it's good enough. Follow the inspection requirements and keep the results. Those records can be a big help when the same problem comes back weeks later.
A high pressure rating can look impressive on a specification sheet. Still, it doesn't tell you whether the machine will form your particular part properly, day after day.
Start with the components you actually need to make. Check whether the machine can handle their sizes, wall thicknesses, and forming lengths. Have a close look at its pressure control, too. A machine needs to do more than reach the required pressure; it needs to control that pressure reliably during the forming cycle.
If the process depends on axial feeding, check the feeding and clamping arrangements before making a decision. The workpiece needs to move in the right way as it expands. If the machine can't support that movement, getting consistent wall thickness may be difficult.
Tooling fit is another thing to sort out early. The dies and fixtures need to fit properly and stay aligned. Ask how pressure and other cycle settings are monitored, and find out which parts need regular servicing. Seals and sensors aren't the exciting part of buying equipment, but problems with them can bring production to a halt.
Whenever possible, test the machine with a part that's close to what you'll actually produce. Use representative material and geometry, then check the finished dimensions and wall thickness. A trial won't answer every question, but it can reveal problems that a specification sheet won't show you.
When a defect appears, record where it occurs and whether it affects every part or just a few. Check the material, pressure, feeding, clamping, and tooling before changing settings.
Make one adjustment at a time, then inspect the next parts. That way, you'll know whether the change actually helped.
For repeat production, keep a record of successful settings, material batches, tooling, and inspection results. This gives operators a clear reference when running the same job again.
There's no single setting that prevents every wrinkle or thin wall. The key is to match the material, pressure, feeding, and tooling to the part. Catching a problem early is much easier than finding the same defect across an entire batch.
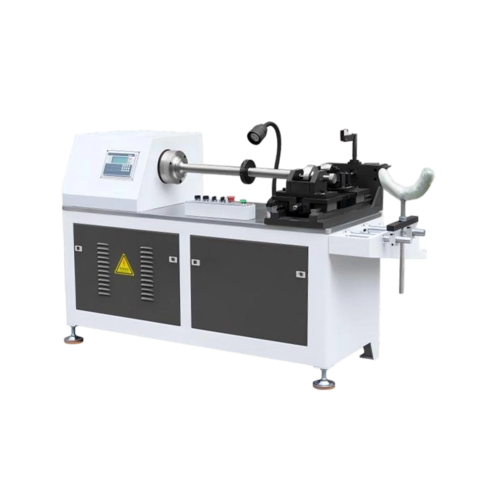
The CNC Pipe Cutting Machine is designed for high-precision cutting of stainless steel pipes, especially suited for cup ...
See Details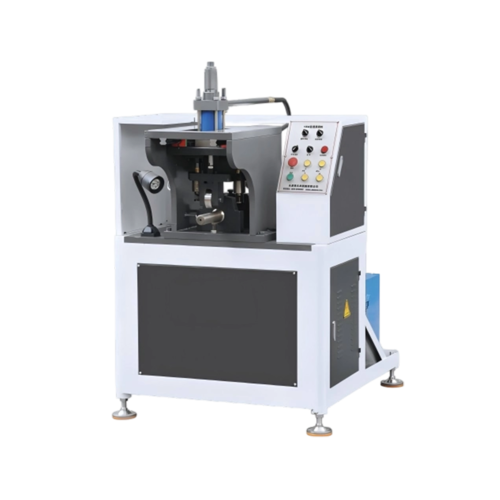
The Hydraulic Welding Seam Flatten Rolling Machine is a specialized piece of equipment designed for rolling and leveling...
See Details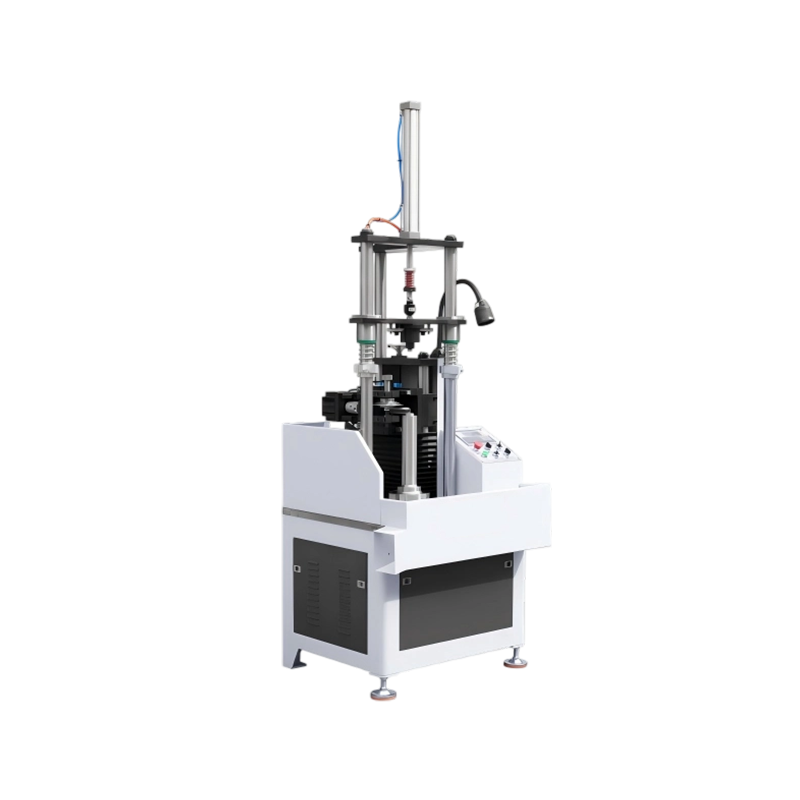
The CNC Rim Neck Cutting Machine is a high-precision, fully automated equipment designed for cutting and trimming the wa...
See Details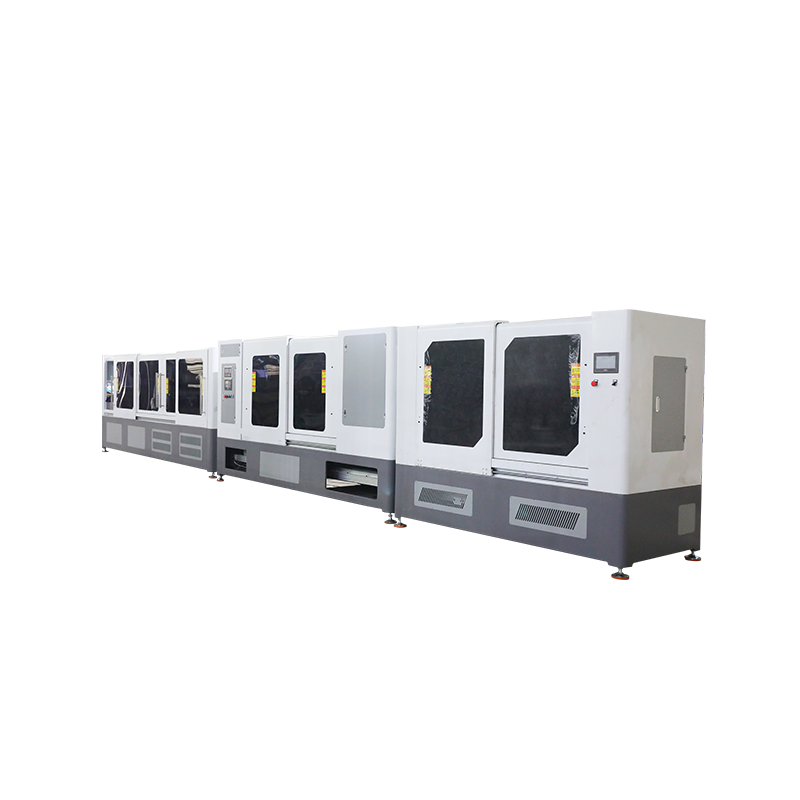
The Fully Automatic Pipe Drawing Machine for Thermos is a precision-engineered production system. It integrates laser pi...
See Details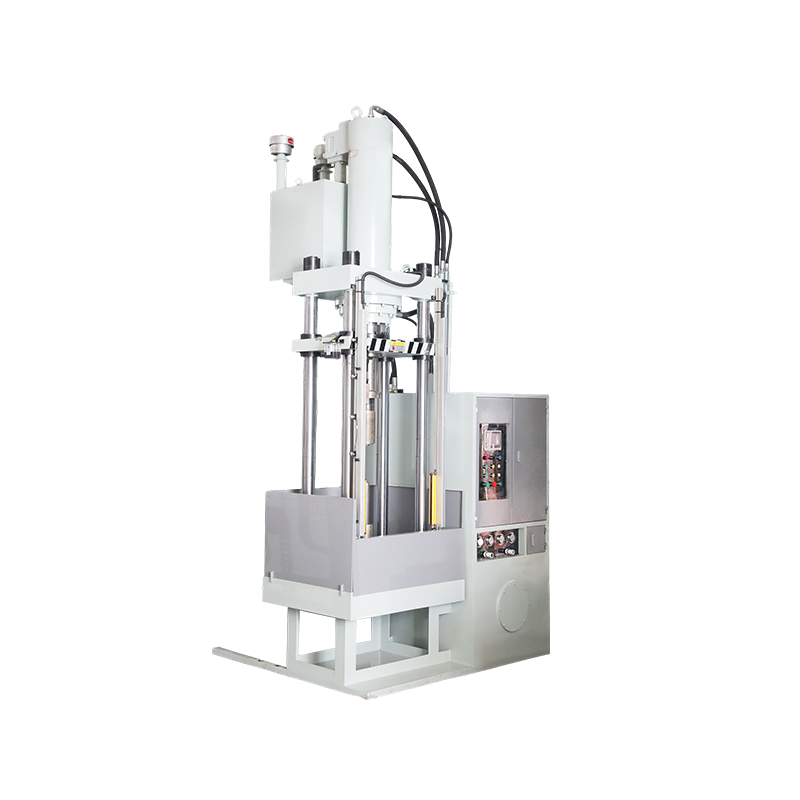
The Water Bulging Bottle Making Machine is made for the precision forming process of both the outer shell and inner line...
See Details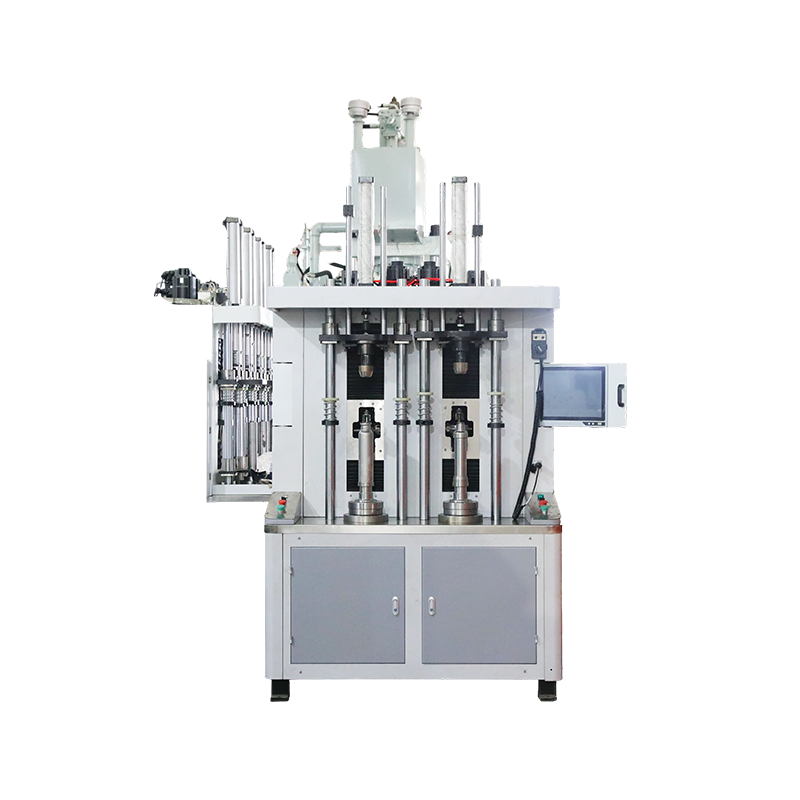
The Double Station CNC Tube End Shrinking Machine is designed for the spinning and compressing process of cup and pot mo...
See Details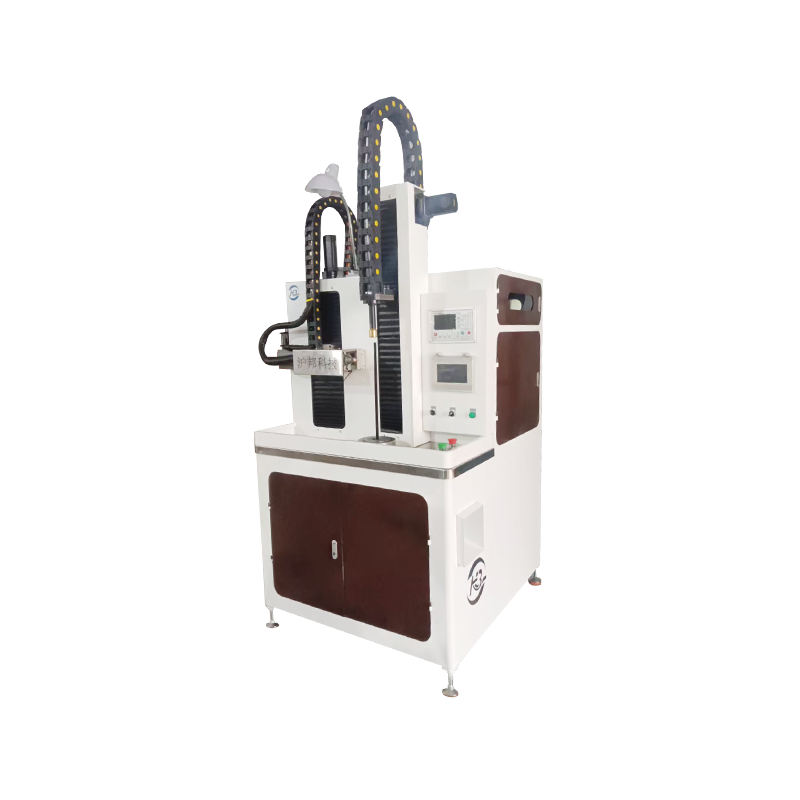
The Laser Bottle Flask Dividing Machine is designed for precision processing of various cup and pot components, includin...
See Details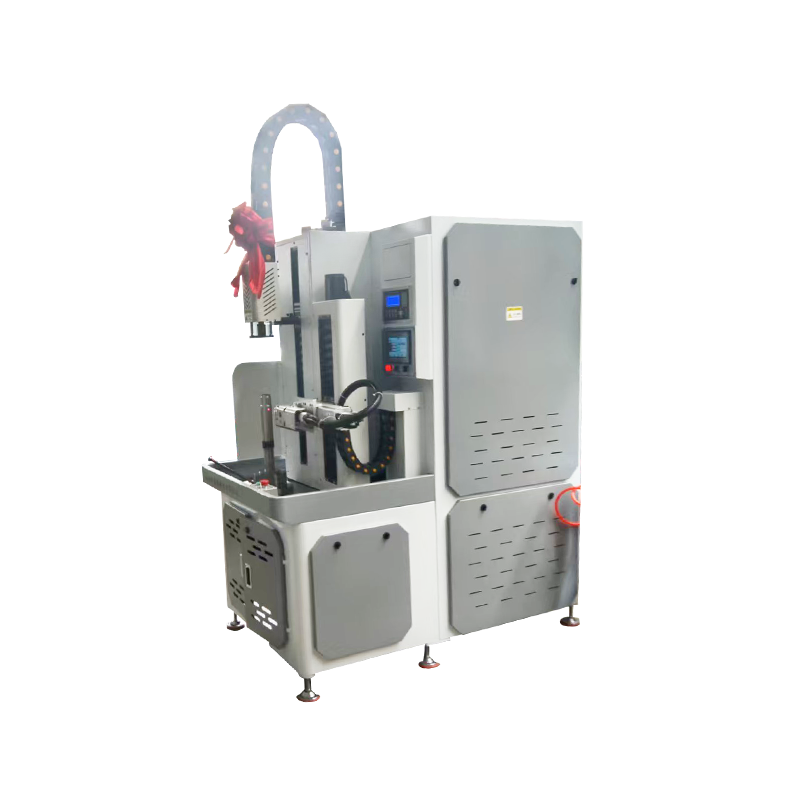
The Automatic Laser End Cutting Machine for Vacuum Flask is a high-precision equipment designed for efficient cutting of...
See Details
Yongkang Hubang Machinery Technology Co., Ltd.

No. 223, Chengxin Road, Economic Development Zone, Dongcheng Street, Yongkang City, Jinhua City, Zhejiang Province, China
Copyright © Yongkang Hubang Machinery Technology Co., Ltd.

Stainless Steel Flask Making Machine Supplier


